Registrations
We now manually approve all new user accounts due to a large influx of spam bots. Accounts are normally approved within 48 hours.
If you need any help with using this Wiki, please ask here: TalkFord.com Wiki Submission Forum
Difference between revisions of "Trip Screen Shadows - Mk2"
| Line 7: | Line 7: | ||
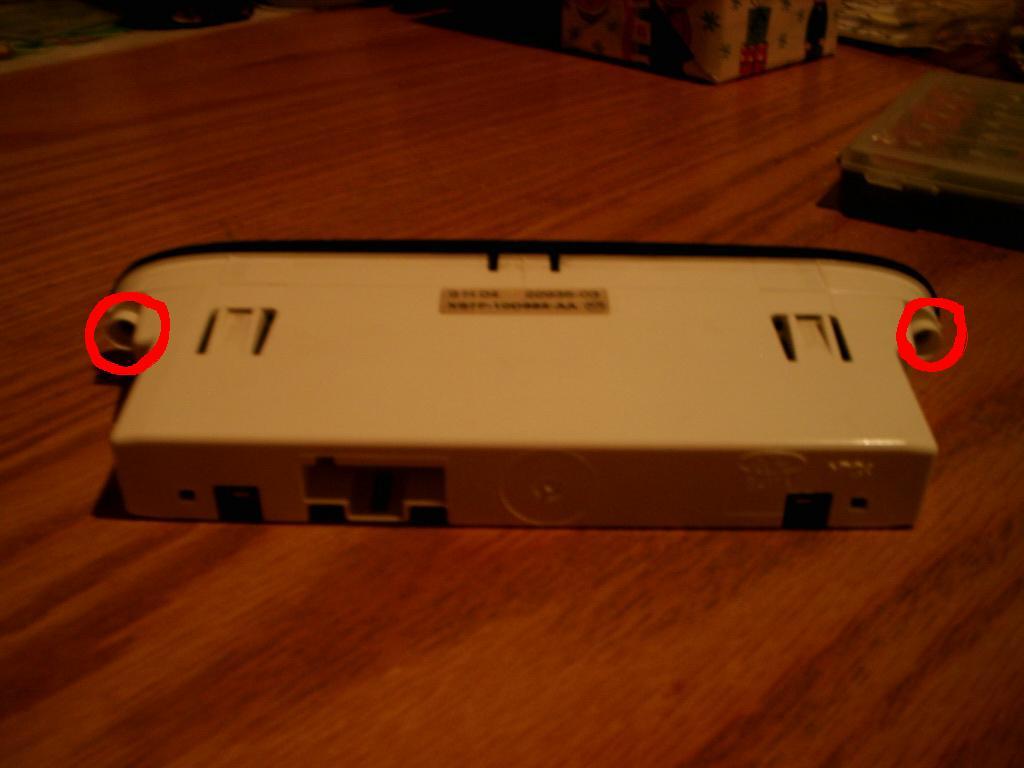
Looking at either side on the back of the trip you will see 2 torx screws, remove them and dont loose them. | Looking at either side on the back of the trip you will see 2 torx screws, remove them and dont loose them. | ||
| − | [ | + | [[Image:Trip1.jpg]] |
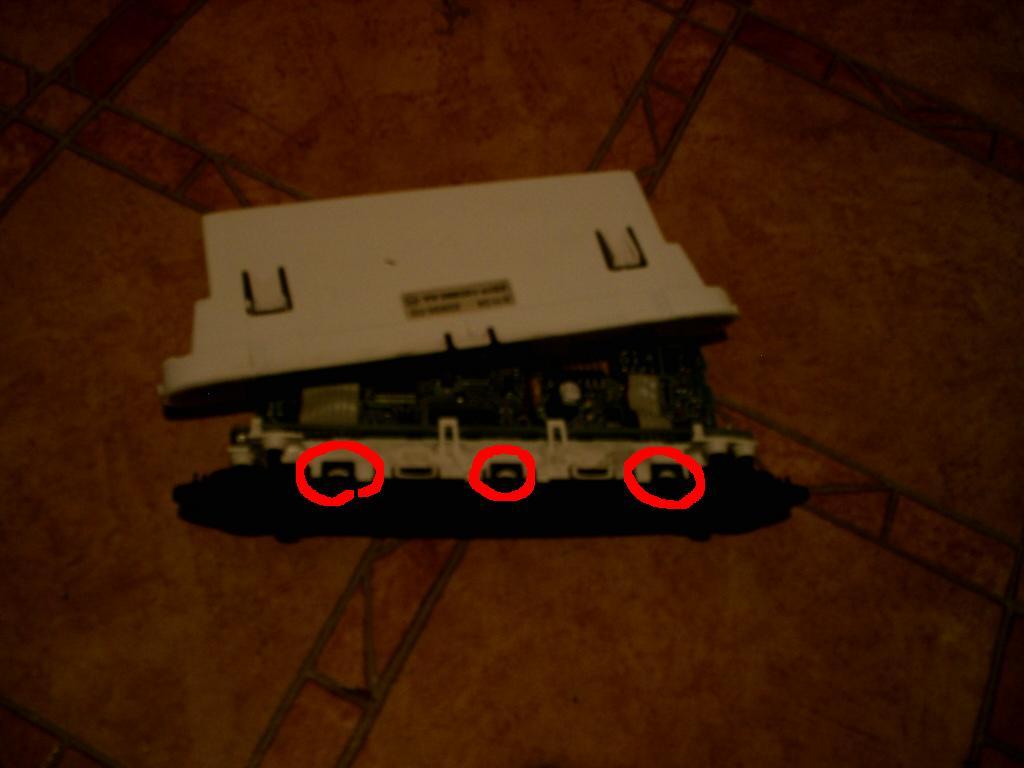
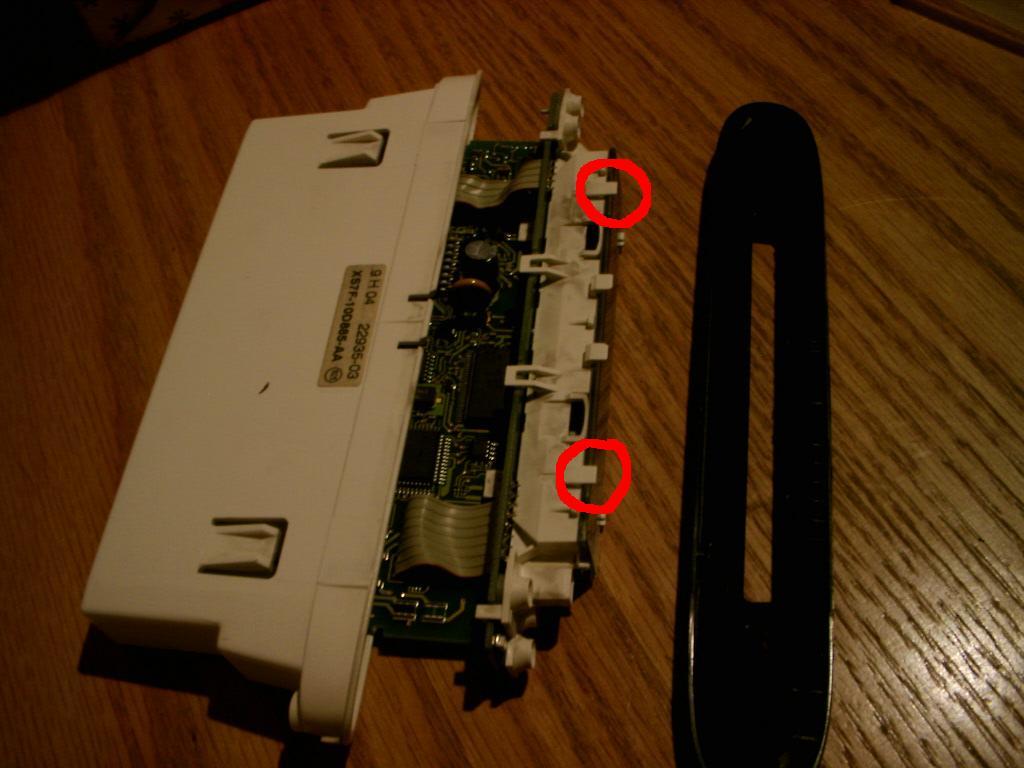
Pulling on the black facia remove the unit out of its casing (dont touch the circuit board as greesy fingers dont do them any good). Looking at the top of the black facia you will see 3 clips, lift them slightly to relese the black facia from the white housing. | Pulling on the black facia remove the unit out of its casing (dont touch the circuit board as greesy fingers dont do them any good). Looking at the top of the black facia you will see 3 clips, lift them slightly to relese the black facia from the white housing. | ||
| − | [ | + | [[Image:Trip2.jpg]] |
Now for all those that dont read everything before they start........... you can now pick up all the 6 buttons off of the floor and put them back in :} . Holding the facia towards the floor and the circuit board upwards whilst removing the black facia will stop the buttons falling out. | Now for all those that dont read everything before they start........... you can now pick up all the 6 buttons off of the floor and put them back in :} . Holding the facia towards the floor and the circuit board upwards whilst removing the black facia will stop the buttons falling out. | ||
| Line 17: | Line 17: | ||
Looking at the top of the screen there are 2 white clips to ease up gently and at the same time move the top of the screen forward (be carefull as the screen is glass and its on a ribbon cable at the bottom.... if you damage either of these components your trip is fit for the bin! | Looking at the top of the screen there are 2 white clips to ease up gently and at the same time move the top of the screen forward (be carefull as the screen is glass and its on a ribbon cable at the bottom.... if you damage either of these components your trip is fit for the bin! | ||
| − | [ | + | [[Image:Trip3.jpg]] |
This is what you should have now | This is what you should have now | ||
| − | [ | + | [[Image:Trip4.jpg]] |
Remove the white plastic sheet that is behind the screen one side is shiney and one is not so take note which way round it is. | Remove the white plastic sheet that is behind the screen one side is shiney and one is not so take note which way round it is. | ||
| Line 27: | Line 27: | ||
This is the cause of the shadows on the screen..... | This is the cause of the shadows on the screen..... | ||
| − | [ | + | [[Image:Trip5.jpg]] |
| − | [ | + | [[Image:Trip6.jpg]] |
Give them a clean with warm water and a cotton bud (one of those things you stick in your ear) for the led housing and a cloth for the bit that goes behind the screen. dont soak it wet just use a damp bud and wipe the led's too. | Give them a clean with warm water and a cotton bud (one of those things you stick in your ear) for the led housing and a cloth for the bit that goes behind the screen. dont soak it wet just use a damp bud and wipe the led's too. | ||
| − | [ | + | [[Image:Trip7.jpg]] |
| − | [ | + | [[Image:Trip8.jpg]] |
Putting it back together is reversal of stripping it down ;) . | Putting it back together is reversal of stripping it down ;) . | ||
Revision as of 18:10, 8 March 2007
Mk2 Trip Screen Shadows
Background
Heres a little guide to get rid of the dark patches on trip computer screens.
Method
Looking at either side on the back of the trip you will see 2 torx screws, remove them and dont loose them.
Pulling on the black facia remove the unit out of its casing (dont touch the circuit board as greesy fingers dont do them any good). Looking at the top of the black facia you will see 3 clips, lift them slightly to relese the black facia from the white housing.
Now for all those that dont read everything before they start........... you can now pick up all the 6 buttons off of the floor and put them back in :} . Holding the facia towards the floor and the circuit board upwards whilst removing the black facia will stop the buttons falling out.
Looking at the top of the screen there are 2 white clips to ease up gently and at the same time move the top of the screen forward (be carefull as the screen is glass and its on a ribbon cable at the bottom.... if you damage either of these components your trip is fit for the bin!
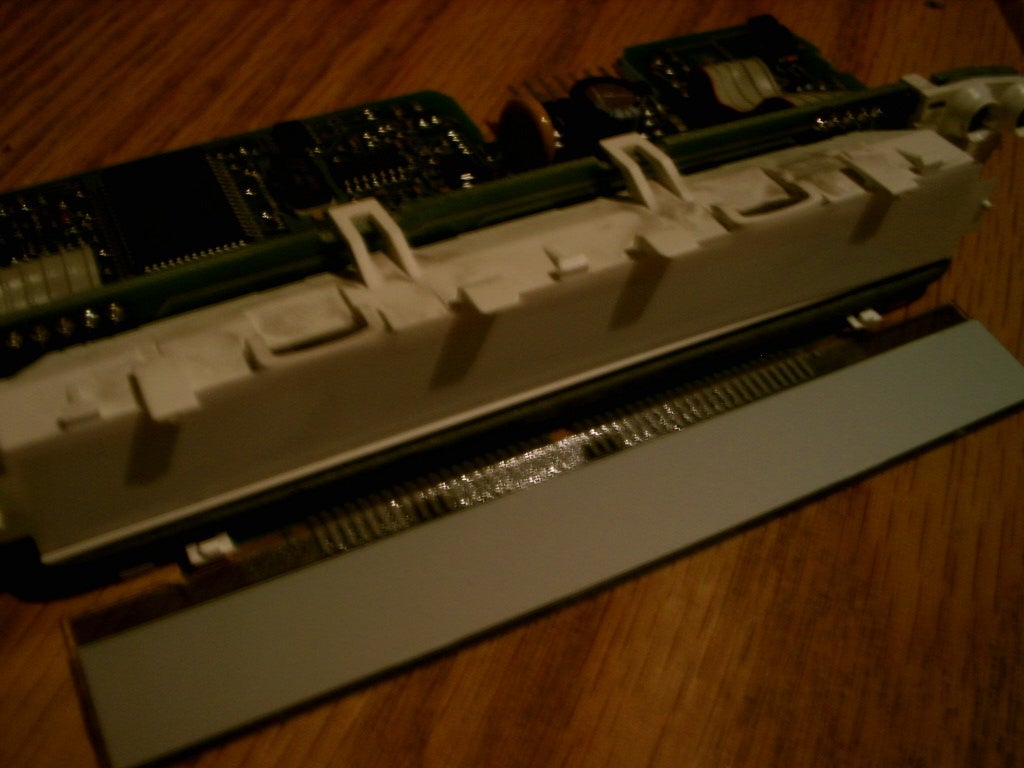
This is what you should have now
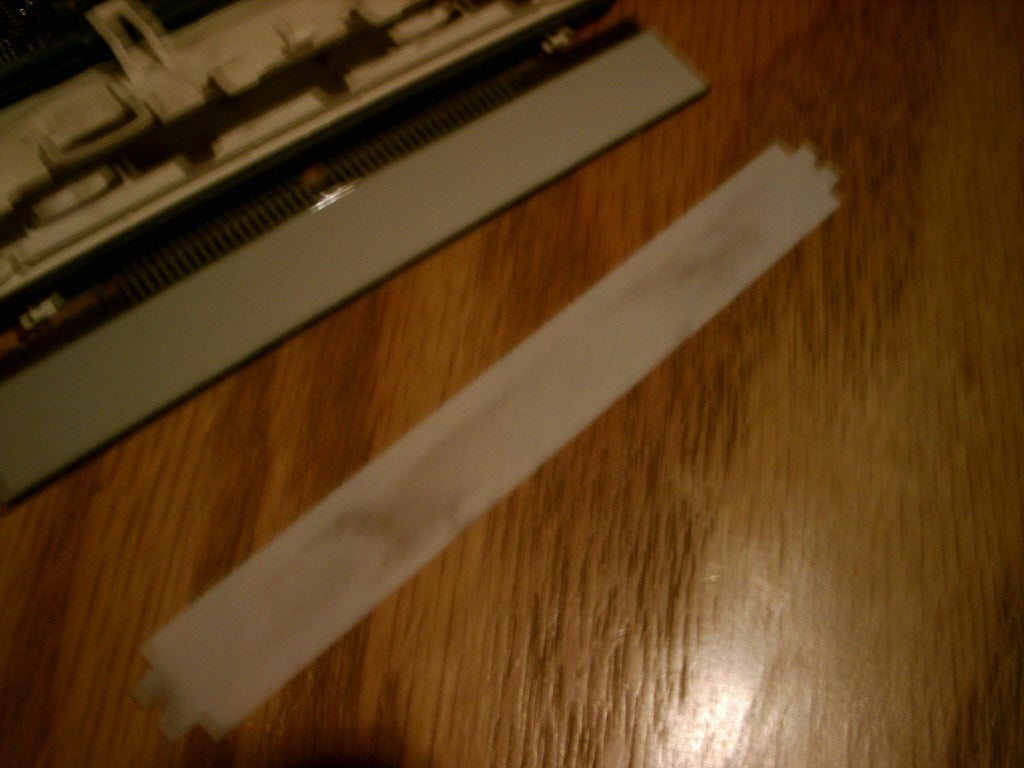
Remove the white plastic sheet that is behind the screen one side is shiney and one is not so take note which way round it is.
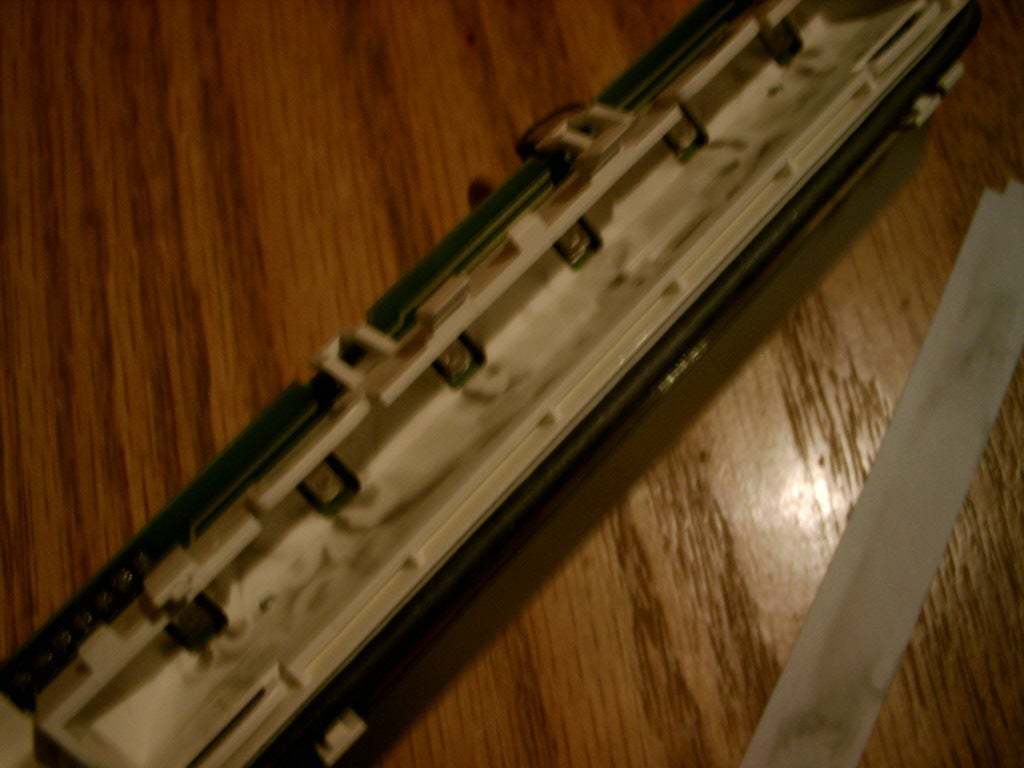
This is the cause of the shadows on the screen.....
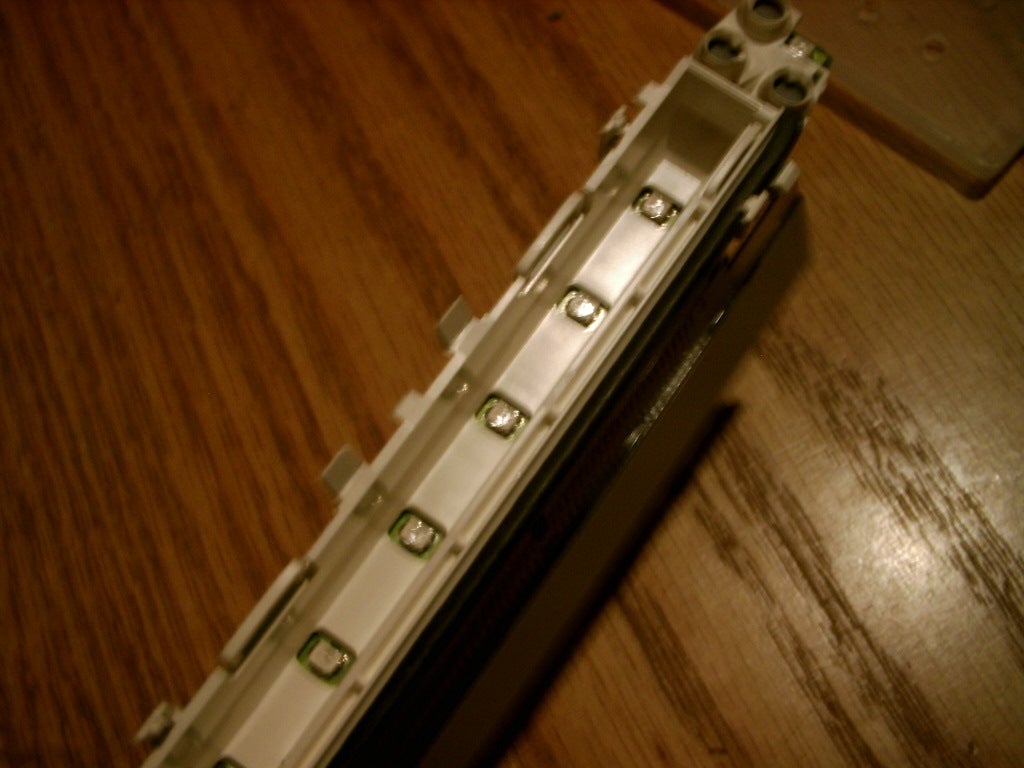
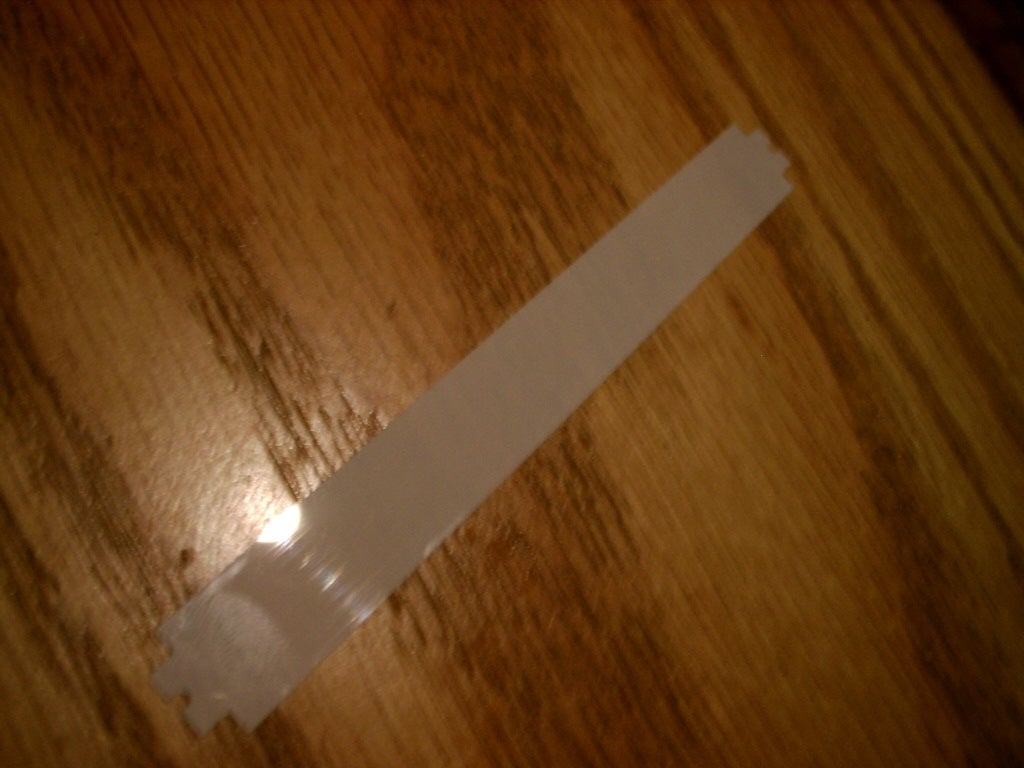
Give them a clean with warm water and a cotton bud (one of those things you stick in your ear) for the led housing and a cloth for the bit that goes behind the screen. dont soak it wet just use a damp bud and wipe the led's too.
Putting it back together is reversal of stripping it down ;) .
Things to watch out for!
Be carefull with the screen. Be carefull with the ribbon cable on the screen. Dont soak it wet when cleaning it. DO NOT drop it on the floor!
Courtesy of Guardtower
 Your Privacy Choices