Registrations
We now manually approve all new user accounts due to a large influx of spam bots. Accounts are normally approved within 48 hours.
If you need any help with using this Wiki, please ask here: TalkFord.com Wiki Submission Forum
Difference between revisions of "Brake Caliper Rebuild Guide (Mondeo Mk2 - Part 1 of 3)"
| (8 intermediate revisions by the same user not shown) | |||
| Line 28: | Line 28: | ||
|label5 = Source | |label5 = Source | ||
|data5 = '''[http://www.talkford.com/topic/147497-mk3-brake-caliper-rebuild-guide TalkFord.com]''' | |data5 = '''[http://www.talkford.com/topic/147497-mk3-brake-caliper-rebuild-guide TalkFord.com]''' | ||
| + | }} | ||
| + | Due to the length and the amount of photos for this wiki guide, it has been broken down into the following sections: | ||
| + | Part 1 - [[Brake_Caliper_Rebuild_Guide_(Mondeo_Mk2_-_Part_1_of_3)|Stripping Down The Calipers]] | ||
| + | Part 2 - [[Brake_Caliper_Rebuild_Guide_%28Mondeo_Mk2_-_Part_2_of_3%29|Cleaning]] | ||
| + | |||
| + | Part 3 - [[Brake_Caliper_Rebuild_Guide_(Mondeo_Mk2_-_Part_3_of_3)|Rebuilding]] | ||
| − | |||
| − | |||
| − | |||
| − | |||
| Line 94: | Line 96: | ||
Step 11. Pop the piston out with your air gun, watch your fingers! : | Step 11. Pop the piston out with your air gun, watch your fingers! : | ||
| − | [[Image: | + | [[Image:MondeoMk3Caliper11.jpg]] |
Step 12. Pull the piston out: | Step 12. Pull the piston out: | ||
| − | [[Image: | + | [[Image:MondeoMk3Caliper12.jpg]] |
Step 13. Now you should be left with this: | Step 13. Now you should be left with this: | ||
| − | [[Image: | + | [[Image:MondeoMk3Caliper13.jpg]] |
Step 14. Now you need to remove your dust boot, your best way is to get a head of a flat bladed screwdriver behind the boot, then twist to start to prise it out of its slot: | Step 14. Now you need to remove your dust boot, your best way is to get a head of a flat bladed screwdriver behind the boot, then twist to start to prise it out of its slot: | ||
| − | [[Image: | + | [[Image:MondeoMk3Caliper14.jpg]] |
Step 15. Once it’s out you should look like this: | Step 15. Once it’s out you should look like this: | ||
| − | [[Image: | + | [[Image:MondeoMk3Caliper15.jpg]] |
Step 16. Now you need to remove your piston seal, again just use a flat bladed screwdriver to remove the seal: | Step 16. Now you need to remove your piston seal, again just use a flat bladed screwdriver to remove the seal: | ||
| − | [[Image: | + | [[Image:MondeoMk3Caliper16.jpg]] |
Step 17. Now you should have a striped down calliper looking like this ready to work on: | Step 17. Now you should have a striped down calliper looking like this ready to work on: | ||
| − | [[Image: | + | [[Image:MondeoMk3Caliper17.jpg]] |
| − | + | ||
| − | + | ||
| − | + | ||
| − | + | ||
| − | + | ||
| − | + | ||
| − | + | ||
| − | + | ||
| − | + | ||
| − | + | ||
| − | + | ||
| − | + | ||
| − | + | ||
| − | + | ||
| − | + | ||
| − | + | ||
| − | + | ||
| − | + | ||
| − | + | ||
| − | + | ||
| − | + | ||
| − | + | ||
| − | + | ||
| − | + | ||
| − | + | ||
| − | + | ||
| − | + | ||
| − | + | ||
| − | + | ||
| − | + | ||
| − | + | ||
| − | + | ||
| − | + | ||
| − | + | ||
| − | + | ||
| − | + | ||
| − | + | ||
| − | + | ||
| − | + | ||
| − | + | ||
| − | + | ||
| − | + | ||
| − | + | ||
| − | + | ||
| − | + | ||
| − | + | ||
| − | + | ||
| − | + | ||
| − | + | ||
| − | + | ||
| − | + | ||
| − | + | ||
| − | + | ||
| − | + | ||
| − | + | ||
| − | + | ||
| − | + | ||
| − | + | ||
| − | + | ||
| − | + | ||
| − | + | ||
| − | + | ||
| − | + | ||
| − | + | ||
| − | + | ||
| − | + | ||
| − | + | ||
| − | + | ||
| − | + | ||
| − | + | ||
| − | + | ||
| − | + | ||
| − | + | ||
| − | + | ||
| − | + | ||
| − | + | ||
| − | + | ||
| − | + | ||
| − | + | ||
| − | + | ||
| − | + | ||
| − | + | ||
| − | + | ||
| − | + | ||
| − | + | ||
| − | + | ||
| − | + | ||
| − | + | ||
| − | + | ||
| − | + | ||
| − | + | ||
| − | + | ||
| − | + | ||
| − | + | ||
| − | + | ||
| − | + | ||
| − | + | ||
| − | + | ||
| − | + | ||
| − | + | ||
| − | + | ||
| − | + | ||
| − | + | ||
| − | + | ||
| − | + | ||
| − | + | ||
| − | + | ||
| − | + | ||
| − | + | ||
| − | + | ||
| − | + | ||
| − | + | ||
| − | + | ||
| − | + | ||
| − | + | ||
| − | + | ||
| − | + | ||
| − | + | ||
| − | + | ||
| − | + | ||
| − | + | ||
| − | + | ||
| − | |||
| + | Due to the length and the amount of photos for this wiki guide, it has been broken down into the following sections: | ||
| − | + | Part 1 - [[Brake_Caliper_Rebuild_Guide_(Mondeo_Mk2_-_Part_1_of_3)|Stripping Down The Calipers]] | |
| + | Part 2 - [[Brake_Caliper_Rebuild_Guide_%28Mondeo_Mk2_-_Part_2_of_3%29|Cleaning]] | ||
| − | + | Part 3 - [[Brake_Caliper_Rebuild_Guide_(Mondeo_Mk2_-_Part_3_of_3)|Rebuilding]] | |
[[Category:Mondeo_Mk3]] | [[Category:Mondeo_Mk3]] | ||
Latest revision as of 06:06, 17 June 2011
For more information, visit the Ford Mondeo forum on TalkFord.com, the definitive resource site covering all Fords from the present day to the 1970's.
|
Overview Guide | |
| Ford Model: | Mondeo Mk3 |
|---|---|
| Petrol/Diesel: | ???? |
| Estimated Cost: | ? |
| Difficulty? | ????? |
| Source | TalkFord.com |
Due to the length and the amount of photos for this wiki guide, it has been broken down into the following sections:
Part 1 - Stripping Down The Calipers
Part 2 - Cleaning
Part 3 - Rebuilding
This guide will walk you though completely striping down the callipers, cleaning, painting and rebuilding.
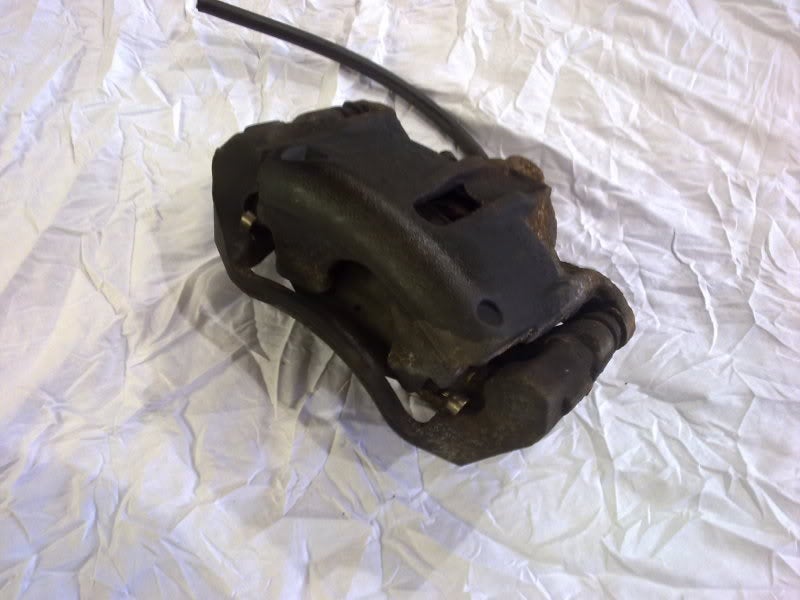
Step 1. Get your mk3 brake callipers, they should look like this:
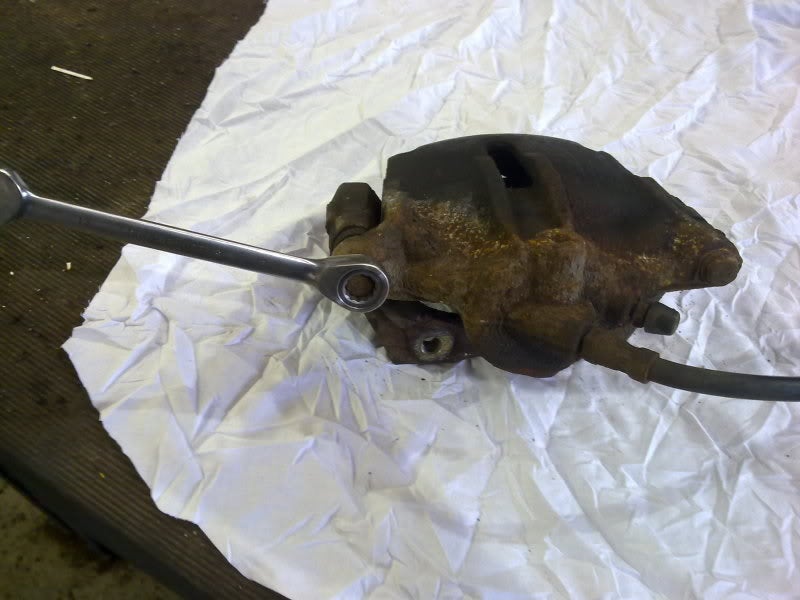
Step 2. Undo the two calliper slider bolts:
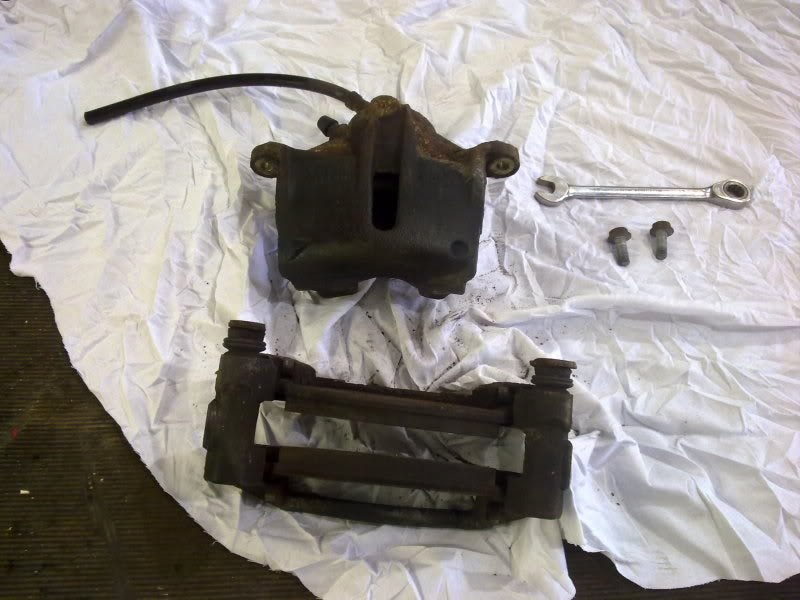
Step 3. This will enable the brake pad carrier to split from the brake calliper like so:
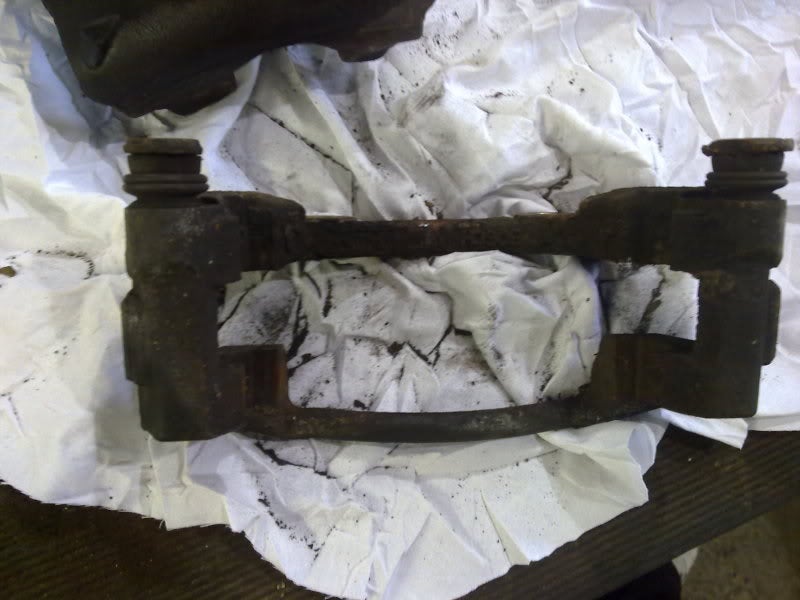
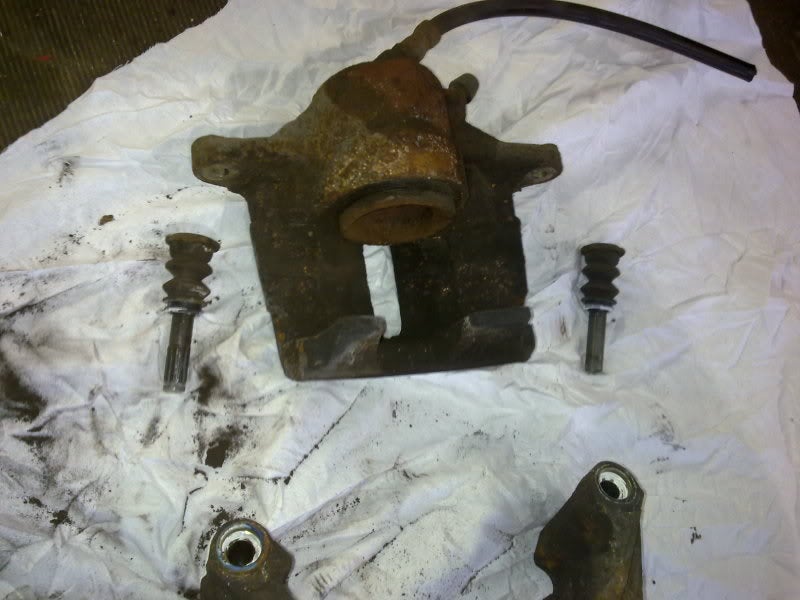
Step 4. Now if you look at the brake pad carrier you have two threaded bars that are held in place by a rubber boot:
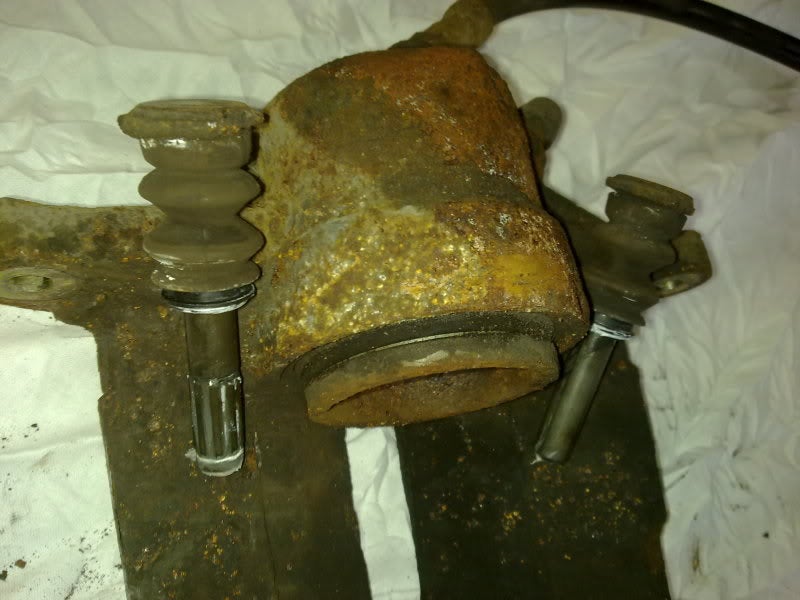
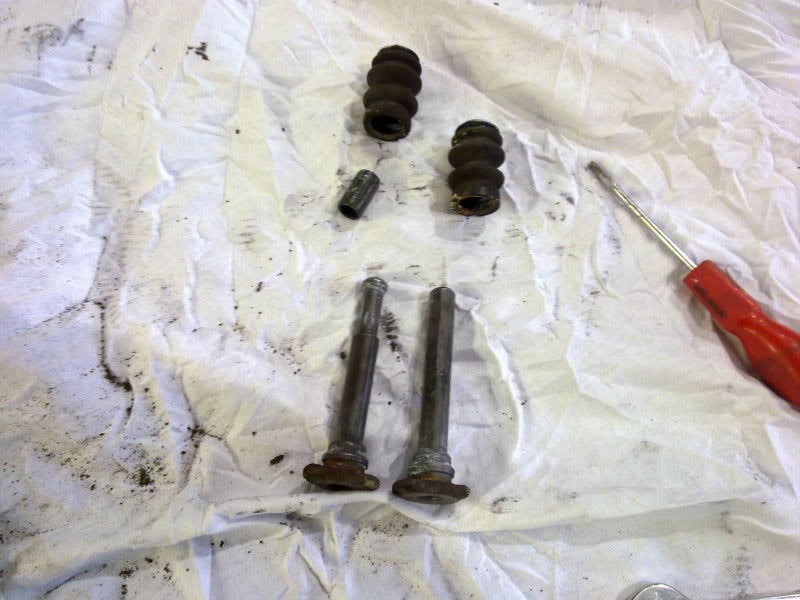
Step 5. Once pulled out they should look like below, note they are not the same, one has a rubber seal and the other is normal:
Step 6. Note the one with the rubber seal is the opposite side from the bleed nipple:
Step 7. Remove the two rubber boots, just pull them off, and with a flat blade screwdriver pick the rubber seal off the bar like so:
Step 8. Now that's the carrier done, now to the brake calliper its self
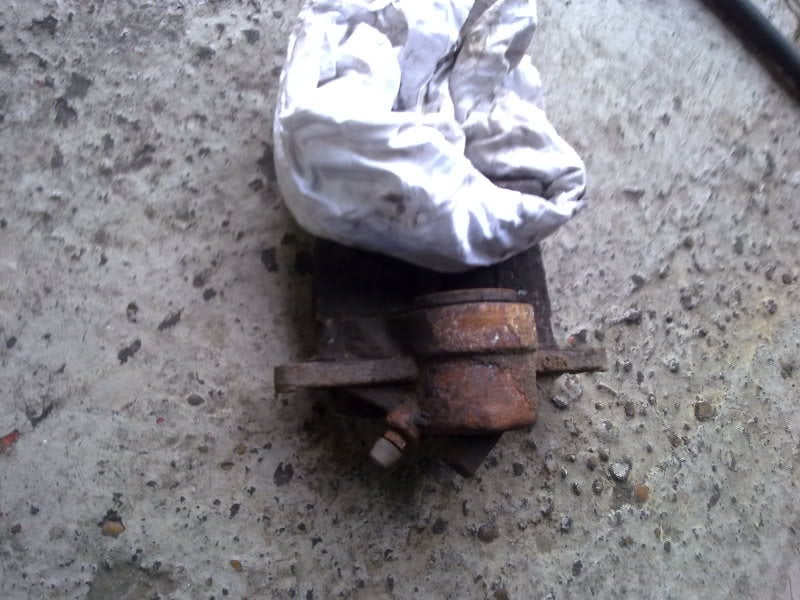
Step 9. Now we need to remove the piston from the brake calliper, you can try to remove it buy hand but this is very very hard! The best way is to use air to force the piston out, the first job is to place a thick rag to block the front of the calliper, and the reason for this is when you use air to remove the piston it will come out with some force!
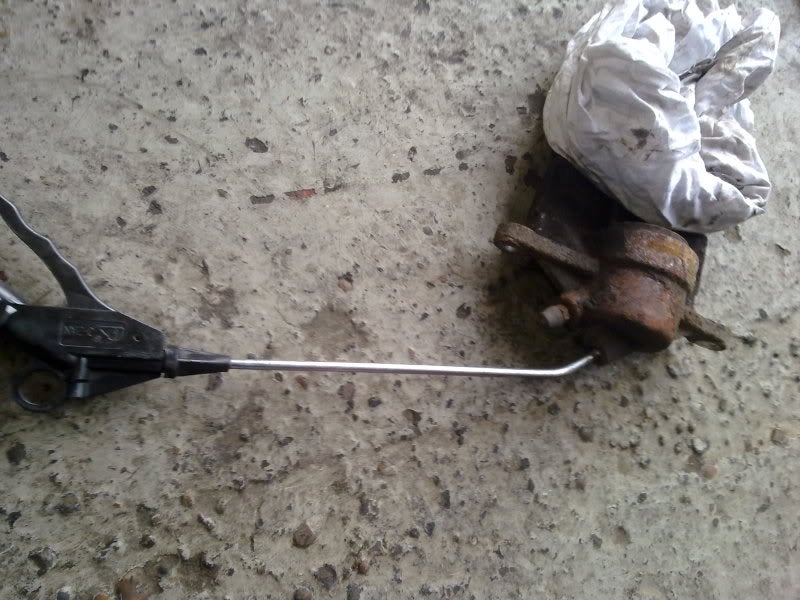
Step 10. Place an air in the hole where your brake pipe will screw in to like so:
Step 11. Pop the piston out with your air gun, watch your fingers! :
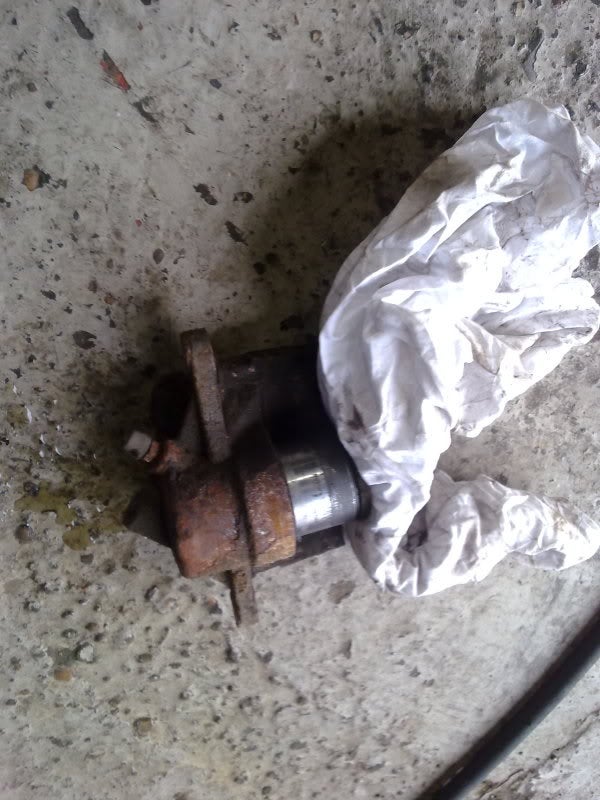
Step 12. Pull the piston out:
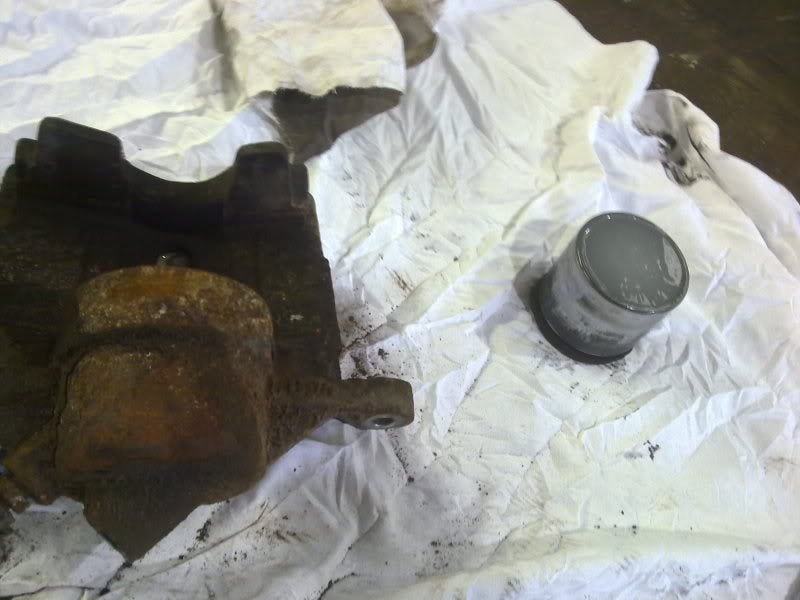
Step 13. Now you should be left with this:
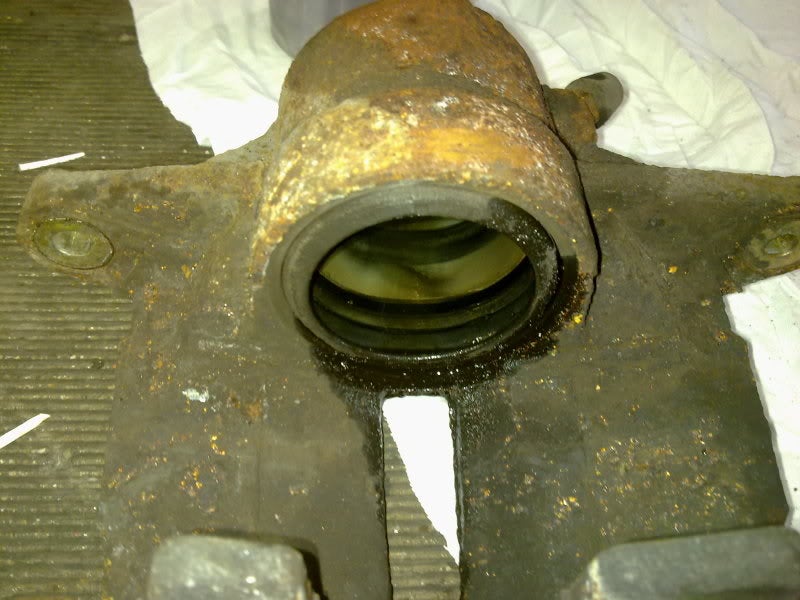
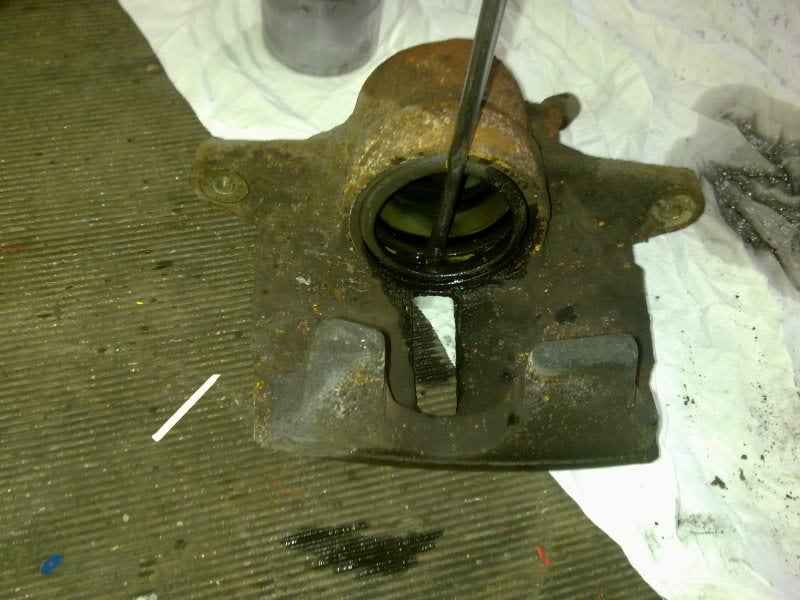
Step 14. Now you need to remove your dust boot, your best way is to get a head of a flat bladed screwdriver behind the boot, then twist to start to prise it out of its slot:
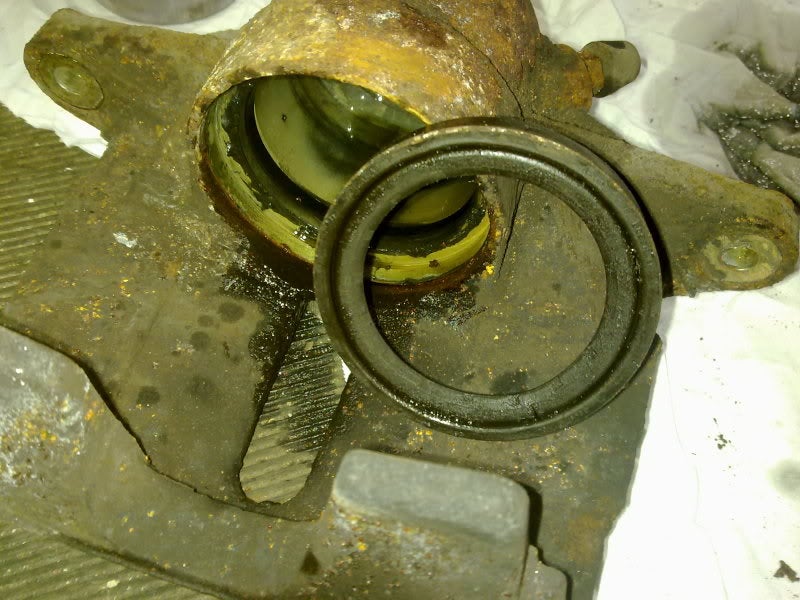
Step 15. Once it’s out you should look like this:
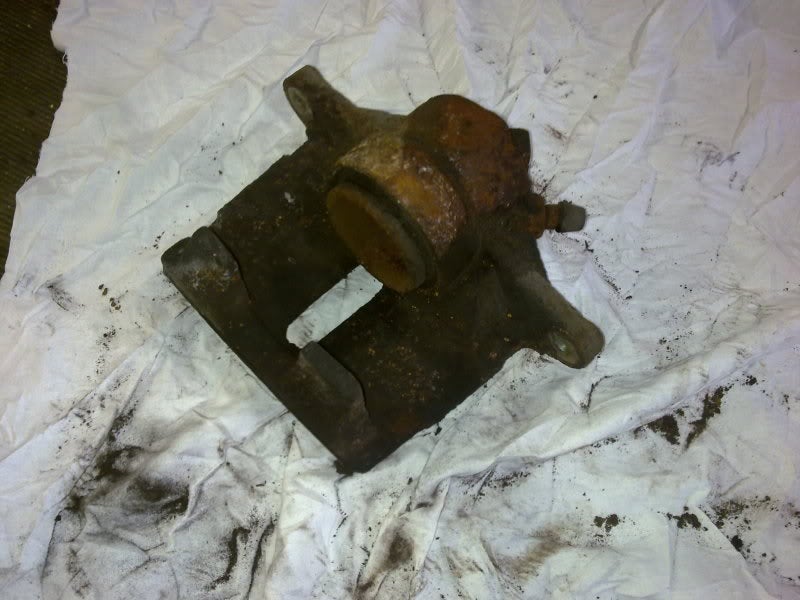
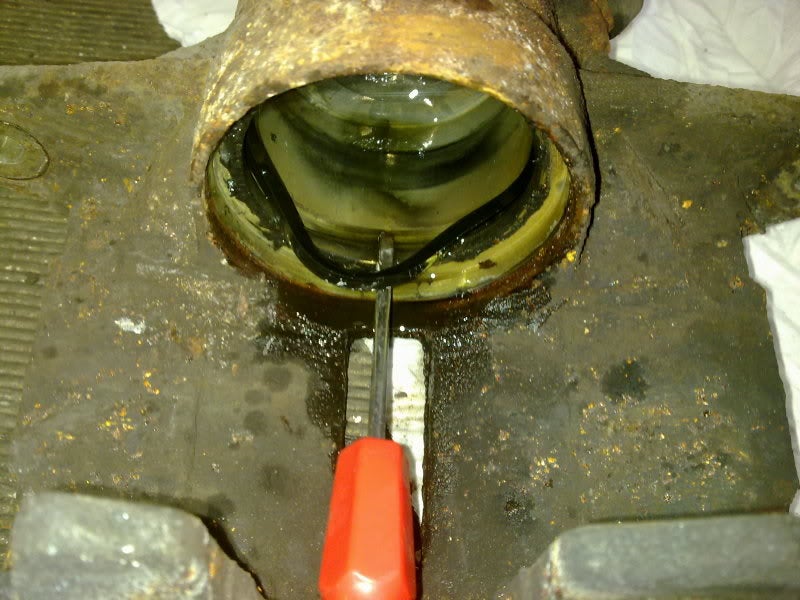
Step 16. Now you need to remove your piston seal, again just use a flat bladed screwdriver to remove the seal:
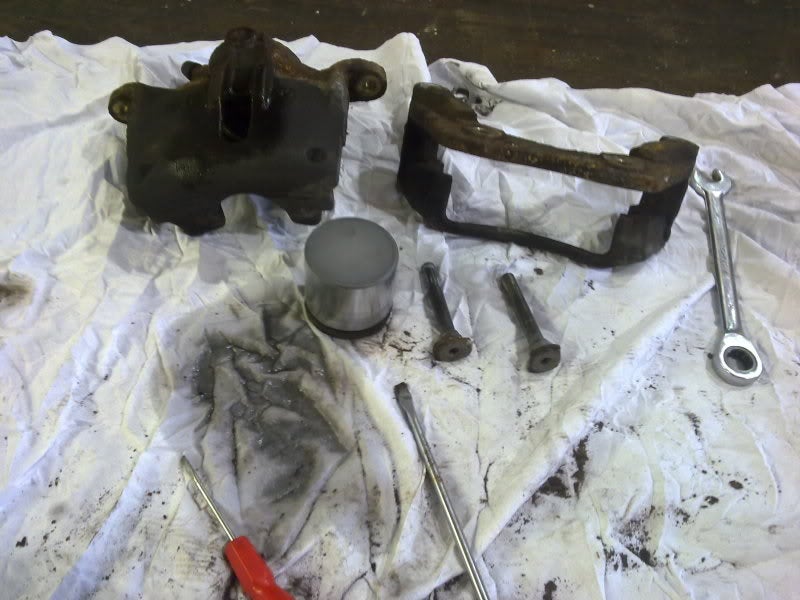
Step 17. Now you should have a striped down calliper looking like this ready to work on:
Due to the length and the amount of photos for this wiki guide, it has been broken down into the following sections:
Part 1 - Stripping Down The Calipers
Part 2 - Cleaning
Part 3 - Rebuilding
 Your Privacy Choices