Registrations
We now manually approve all new user accounts due to a large influx of spam bots. Accounts are normally approved within 48 hours.
If you need any help with using this Wiki, please ask here: TalkFord.com Wiki Submission Forum
Difference between revisions of "B Pillar Decals & Weatherstrips - Mk2"
| Line 70: | Line 70: | ||
[[Category:Styling]] | [[Category:Styling]] | ||
| + | [[Category:Mk2]] | ||
Revision as of 19:29, 9 March 2007
Contents
Fitting later MK2 'B' pillar decals and full length weatherstrips
Background
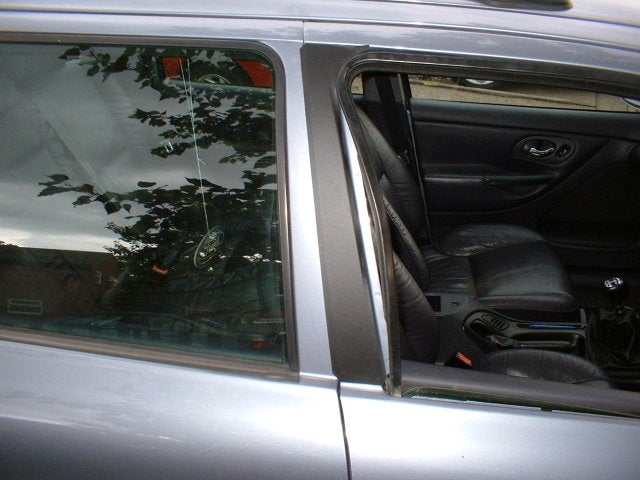
Later MK2 models manufactured after January 2000 had various interior and exterior changes to facelift the range. The main exterior change was the use of black decals on the ‘B’ pillar between the front and rear doors and extended weather seals at the base of the door windows to give a cleaner look to the side profile of the car. This is a reasonably easy upgrade to carry out and will take about 4 hours to do and cost about £50 in parts.
What You Need
Tools
Flat bladed screwdriver A sharp knife.
Parts you will need from Ford
Front drivers side window weatherstrip – finis 1113691 £8.77.
Front passenger side window weatherstrip – finis 1113692 £8.77.
Rear drivers side window weatherstrip – finis 1113693 £6.47.
Rear passenger side window weatherstrip – finis 1113694 £6.47.
Front drivers side door decal – finis 1102873 £5.23.
Front passenger side door decal – finis 1102874 £5.23.
Rear drivers side door decal – finis 1102876 £2.29.
Rear passenger side door decal – finis 1102877 £2.29.
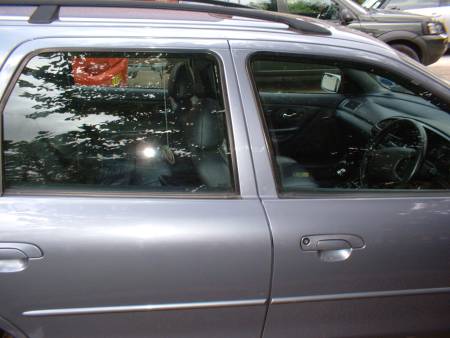
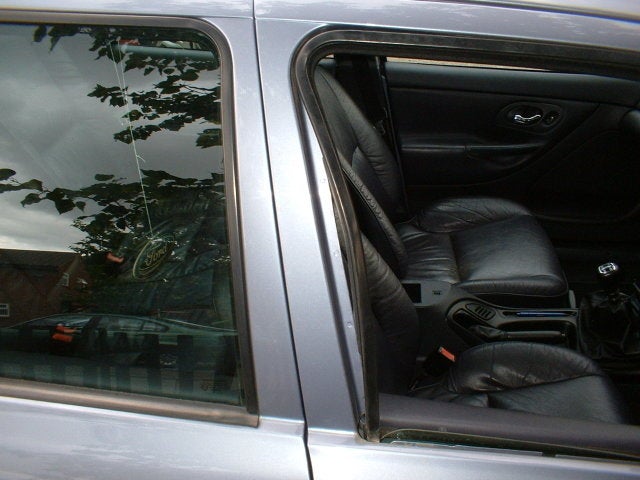
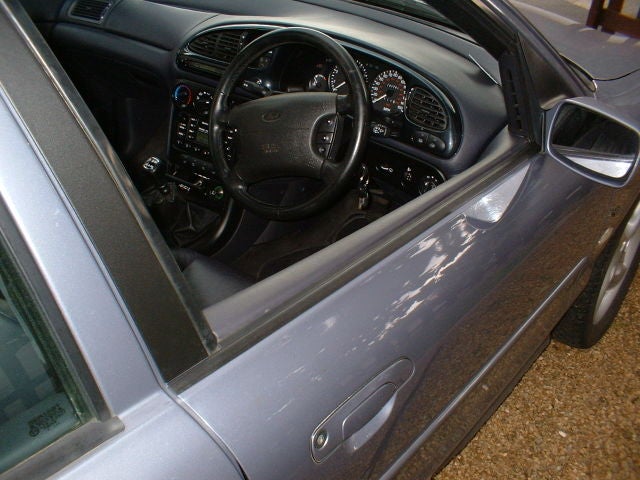
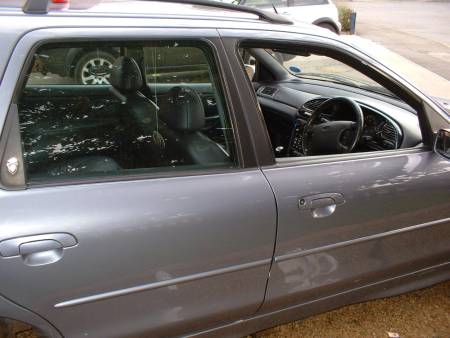
Car before
Method
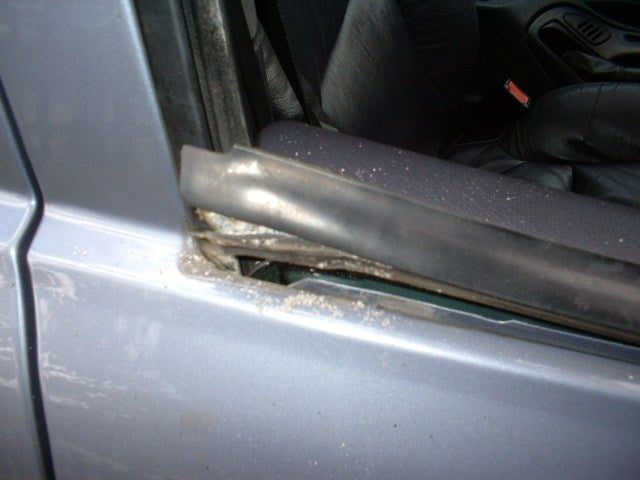
To get the old weather strips out of the door top they are simply levered out, use some rags to protect the body work and lever/ pull the old strips out.
While the strip is out the window seal needs to be pulled forward from the door frame to allow the door decal to be fitted (they are tucked underneath the rubber).
Clean the area where the decal is to go with some white spirit or give it a good T cut. Next remove the backing from the decal and position it on the door frame, the edges of the decal have an angled finish to indicate where they need to be folded over the front and rear edges of the door frame. Smooth the decal down so that no bubbles are present.
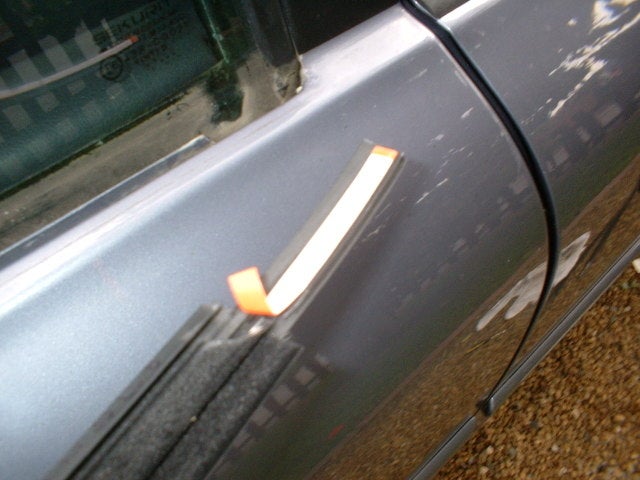
Next the weather strip can be fitted, the new longer ones come with a small adhesive pad to keep the rear edge from sticking up, remove the tape from the adhesive and fit the new weatherstrip into the channel.
The rear door is done the same way, firstly remove the old weatherstrip, then however when attempting to fit the door frame decal the window seal cannot be eased from the door frame to allow the decal edge to be folded over as the rear windows only come halfway down.
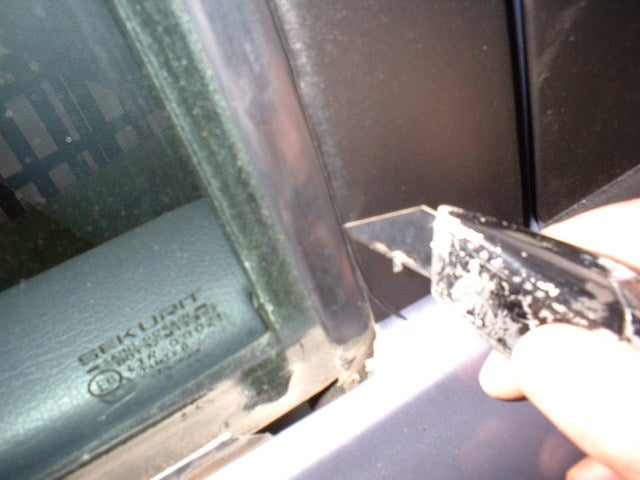
You have the choice of either removing the window to allow the rubber seal to be pulled away, or the simpler method that I used is to trim the decal with a sharp knife leaving a small part of it to ease under the edge of the rubber.
Finally fit the new weatherstrip.
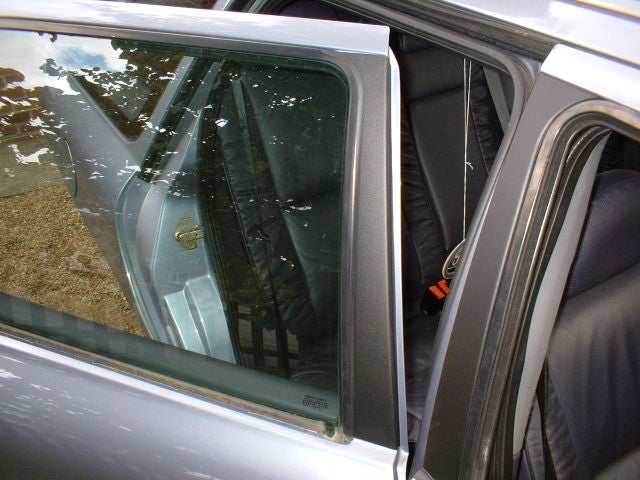
Car After
Submitted by stevedohc16v
 Your Privacy Choices