Registrations
We now manually approve all new user accounts due to a large influx of spam bots. Accounts are normally approved within 48 hours.
If you need any help with using this Wiki, please ask here: TalkFord.com Wiki Submission Forum
9000VNR - Fitting (Mondeo Mk1/2)
Fitting a 9000VNR
Background
This is a guide to fit a 9000 vnr from my personal experience of fitting one in my Mondeo. Mine is a mk2 ST200 5 door hatch (W-reg) but I am sure all details should be the same for the other mk2’s. It may be the same for the mk1 but if not should give few pointers. This was fitted by myself and my brother. At times it is handy to have an extra set of hands.
Parts
Ford 9000 vnr head unit Ford GPS ariel base and loom Navtech Software Ford Radio Keys Large flat blade screwdriver Phillips screwdriver T25 Torx screw driver or similar i.e. ratchet with extension and T25 bit Electrical tape Old metal coat hanger Torch if its dark!
Method
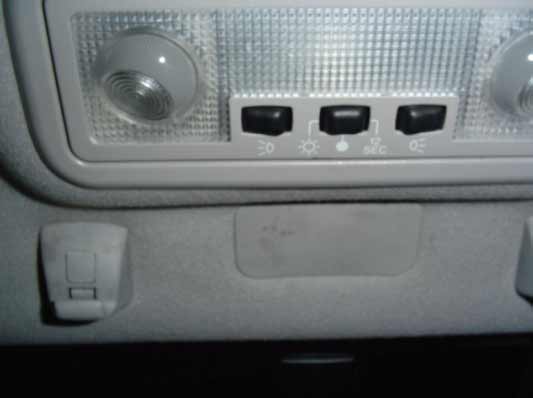
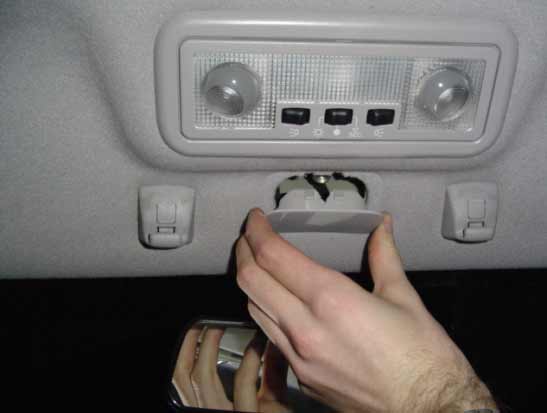
The main priority is to get the ariel fitted and the loom installed. Once this is done the rest is plain sailing. On my mondeo the ariel base was just a straight swap. Sitting in the car with both sun visors pulled out of their clips you can see a small rectangular blanking plate:
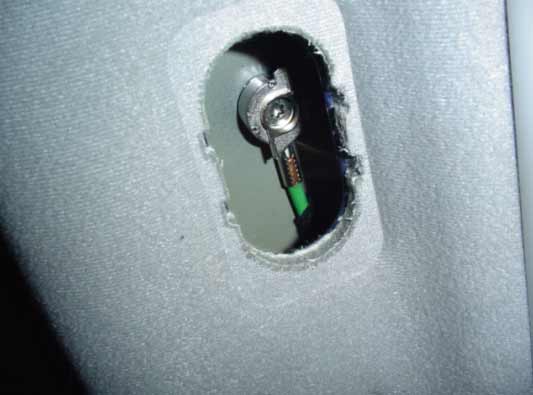
Using a large flat blade screw driver gently prise the blanking plate out. Once it’s part way it will either pop out or you will be able to pull in out by hand. Under this you will see the original ford aerial base:
As you can see from the picture there is a T25 torx screw in the centre of the ariel. This is where it is good to have someone outside the car to grab a hold of the ariel base so its not moving about. Unscrew the torx completely. Be careful to catch the little tapered washer aswell. There is a small black grommet which in our case stayed in the roof but be prepared jut in case. The ariel can now be pulled free by the person outside. Now remove grommet if it didn’t fall out. Right that’s the old ariel removed. What we decided was to leave the original fm ariel in the car as it would be making extra work to remove it. Also if ever the car is sold the head unit and ariel could be swapped over nice and easy but its your call. We taped up the ariel’s end and then wrapped some around it inside out thus making the end sticky. This was then tucked away and stuck its self to the headlining. With this done we could now get the new ariel installed. The original fm ariel was route goes right through the roof and down the right hand pillar and round the dash. We therefore went left where there was plenty of room.
First of all get your GPS ariel base. A point to not you should only have a few inches of loom from the ariel base. If you have loads i.e. 3 metres you still have the loom connected. There will be a multi plug which will separate and make it more manageable to install. The base will have a T25 torx screw in it. Undo this and it will release the clamp mechanism. This looks like a small bell shaped item with a groove out of it. Once remove this will allow the wiring to be pulled straight in the base. Now is a good time to make sure your roof is nice and clean to ensure you get a good seal to your base. The base can then be inserted in the hole, lining up the pin with the small locating hole. Now push the wire back down the groove to one side and refit the bell clamp mechanism. Now tighten up the T25 torx with someone outside so they can make sure the seal is seating properly.
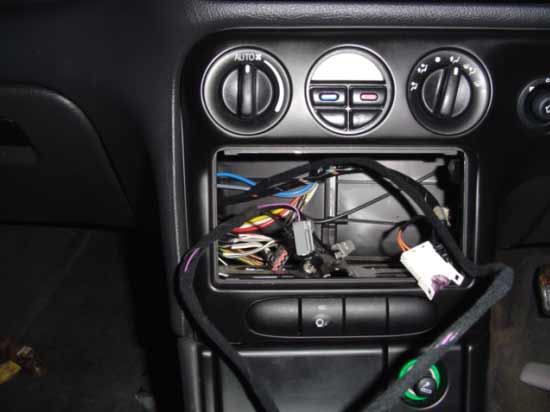
That’s the base sorted. Now remove the old ford head unit using radio keys. Make sure the cars in 2nd, 4th or reverse gear so your gear knobs out of the way. Nearly scratched my carbon st200 jobbie like a right plonker. In the end I bunged one of my girlfriends fleece gloves on it which works as the perfect safety barrier! With the unit removed you will see all the wires loose and you can start the loom from in here.
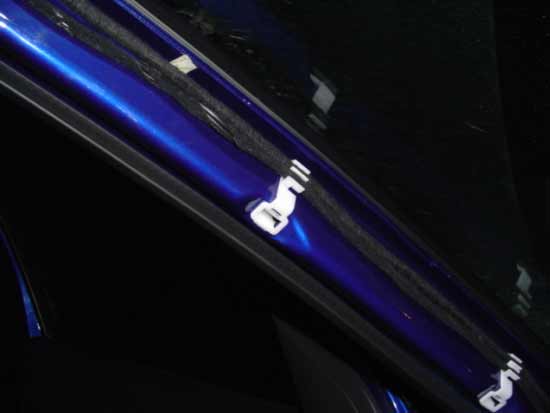
Now you need to wire in the loom. It is now a good idea to removed the passenger sun visor which is secured with 2 phillips screws. The pillar cover adjacent to the windscreen can be removed. Some people just say pull it off. It will come off doing this but we broke one of the three clips doing so. When you have seen the brackets the intension is that the trim pushes down in to the dash and releases. This is hard work so we pulled at the top which popped the first clip with out breaking it. This give you enough now to get hold of and push it down. Once off you will find a nice set of clips to secure wires. In my st200 there was one set free that we were able to use. The pic shows it with the gps wiring fitted:
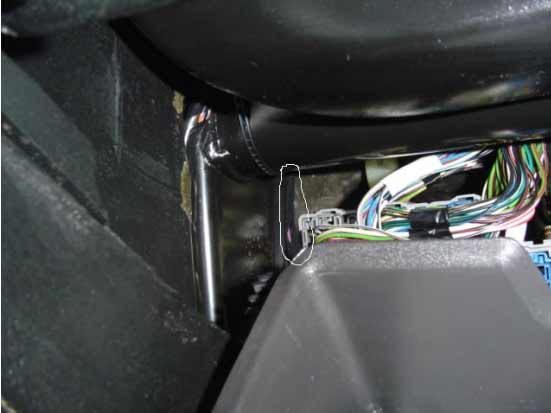
The loom has to be wired from the stereo opening round the glove box and up behind the dash so it comes out at the end of the pillar:
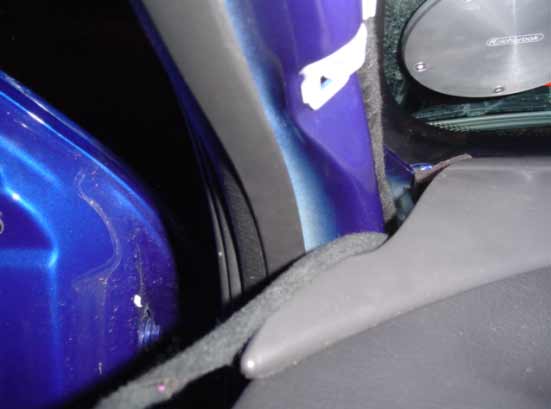
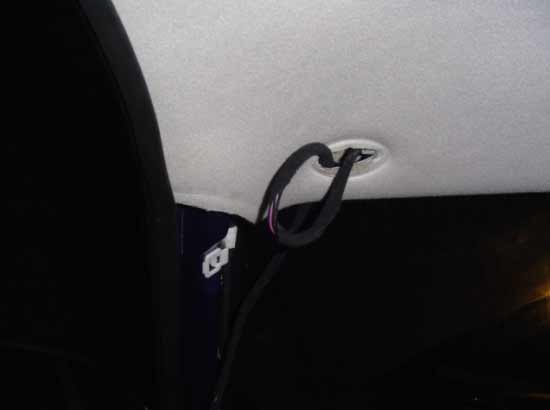
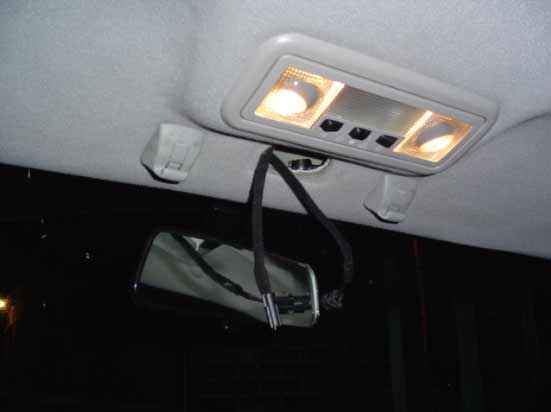
This wire can now be clipped in to the clips up the pillar as shown in the earlier picture above. Now you need to get the wiring to the base. We found the best method was to utilise the central hole which the sun visor locates in (*** note not the screw holes***). This hole is oversized and can allow the wire and the sun visor to be fitted. This was the only way we could find to get the wiring in as the ariel base is in like a box section with sealed ends. Ford have done the same as us on the right side with the original fm ariel. If you require you can make a puller using an old metal coat hanger. Pass this down from the ariel blanking plate hole and hook the ariel on and pull it through.
Once the wires meet at the ariel base the multi plugs can be re connected.
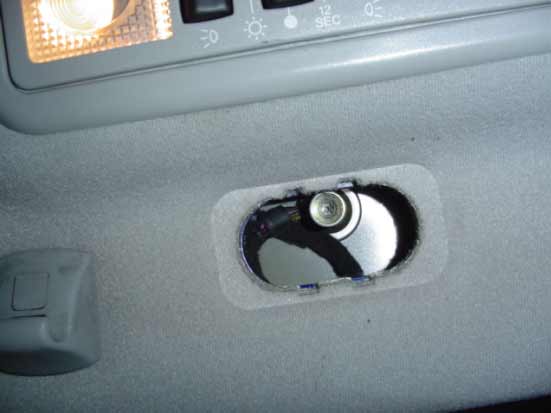
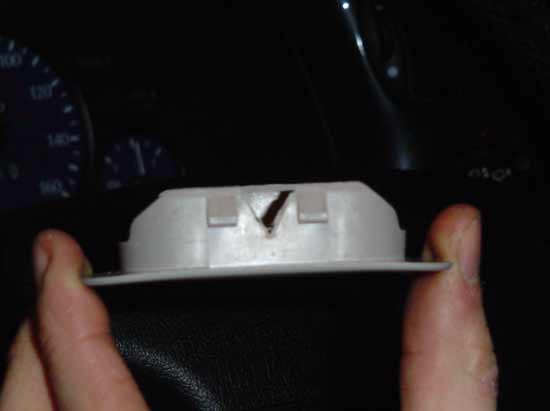
Once connected you can tuck them away. The sun visor can now be refitted. Tighten it up sensibly so as not to damage the gps loom. The pillar trim can also be re fitted. The ariel blanking plate can now be re fitted but it has to have a small triangular notch cut out of it to stop it from fouling the larger gps base clamp.
This can then be refitted with the notch orientated as shown:
Now is a good time for a brew as the hard works done and you don’t want to damage you head unit rushing the last bit.
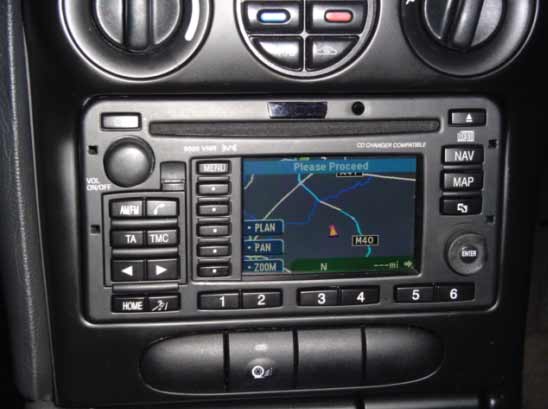
Looking at the empty stereo hole you need to locate the original fm ariel mine was and all my other cars fiesta clio & 106 are green in colour. Just tuck this out of the way as it is redundant for now. It is now a job of connecting the 9000 vnr to the various multi plugs, changer lead (if fitted) and gps system. For some reason there was no where for one of the multi plugs on the gps end to locate in. I assume this is for another part possibly to do with the optional ford phone. It seems to be fine and working so clearly isn’t detrimental to the system. Once all connected gently slide the headunit in to place. If will give a firm click when in properly. It is slightly more proud than the original so don’t worry thinking its not in right. Now its play time! You can get to know the system which is extremely powerful.
Sit back and enjoy. I m over the moon with mine and I am sure you will to. I hope this guide is useful to you and make life a little easier. Please note it should be used as a guide from my personal experience to help you, I cannot be held responsible if you damage your vehicle or fit it to a model other than the one I have.
P.S. If you do not have a manual for your 9000 vnr I have a zipped up copy which I can email to you which was kindly sent to me by davec. Just PM me and I can forward it on.
Submitted by V6STR
 Your Privacy Choices