Registrations
We now manually approve all new user accounts due to a large influx of spam bots. Accounts are normally approved within 48 hours.
If you need any help with using this Wiki, please ask here: TalkFord.com Wiki Submission Forum
Roof Mounted Dash Illumination LED
Modern BMW's have two orange LED's mounted in the headlining that shine down and illuminate the gearstick area in a soft glow at night. This article details doing the same, using my Mk3 2001 LX. It's a very simple/cheap mod and takes next to no time, so why not try it out!
Ingredients: - One (or two if you prefer) LED's, colour to taste. - Resistor(s) to get the LED's to the desired brightness when run at 12v. - Small grommet, tight fit for LED. - Some wire - enough for a run down the A pillar to behind the dash. - A 2-way spade connector (see text)
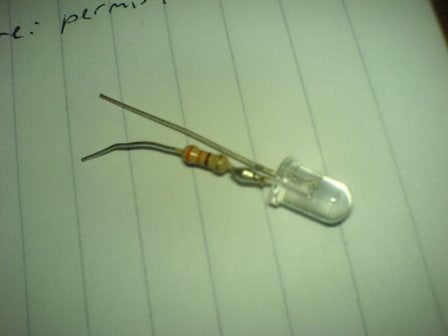
The first step is to choose what LED to use. I picked an "Aqua" coloured one (slightly bluey-green) but if you've modded your dash lighting to blue or red etc., you might want to pick one of those colours. Depending on the LED, you might need to add a resistor for use with 12v. Here is mine ready to go...
I tested this and decided to add more resistance as it was too bright - fine tune to taste!
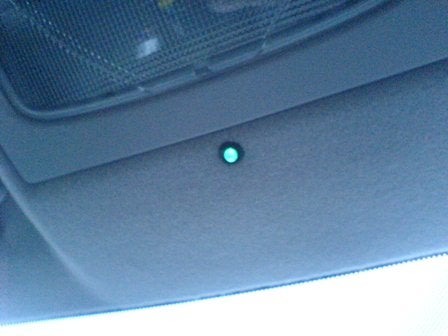
Next, I used a drill bit by hand to cut a hole in the headlining just in front of the roof console. This was the right size for a small black grommet that would take the LED. The headlining is quite thick so I cut off one face of the grommet - the LED being pushed through it then traps the grommet in the hole securely. Experiment with how far through you push it, as too far and it is very bright in the corner of your eye at night! You want it to stay a few mm inside the grommet.
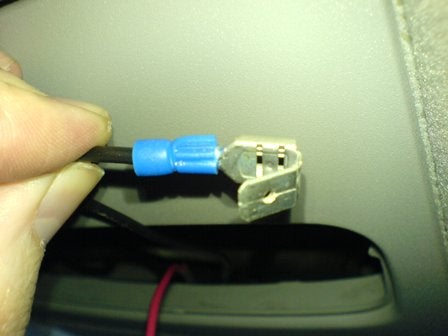
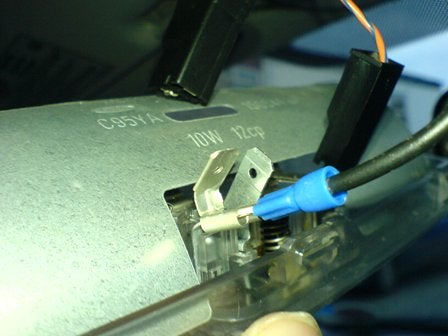
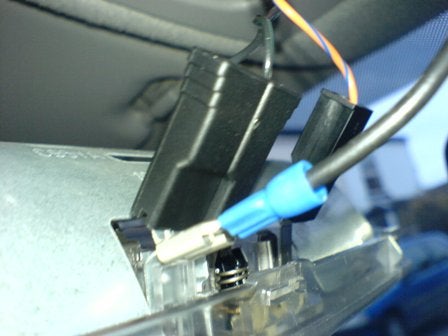
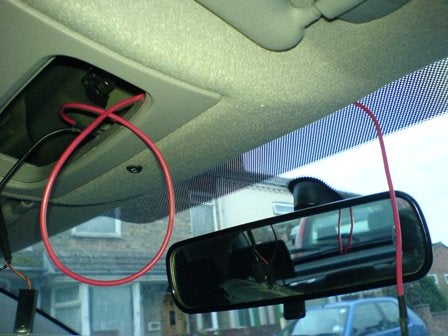
Next step is the earth wire. I used the negative terminal on the interior light for this, using a 2-way spade connector to intercept the factory plug. This saved some cutting and soldering. See the images for example:
The connector:
Bend the spade on the lamp unit so the connector fits on leaving it's own spade in place of the original:
Reconnect the factory plug:
Next, run the positive cable through to the windscreen:
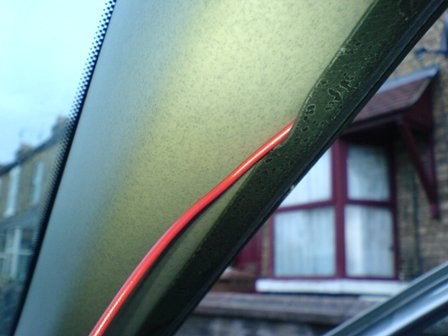
Feed it along, then around the top of the A pillar and down behind the weather seal:
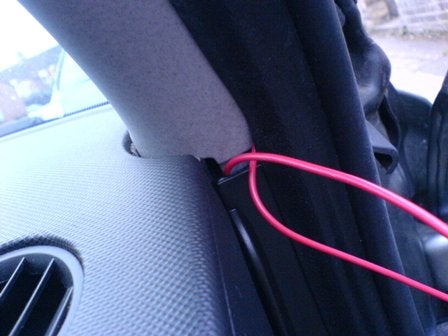
Tuck it behind the plastic trim (helpful to pull off the weather seal at this point...
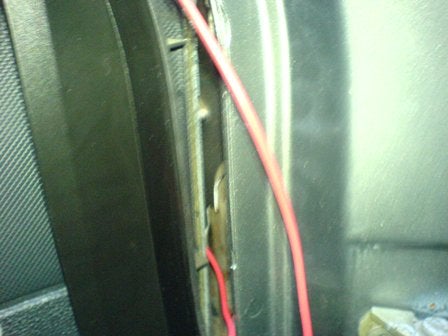
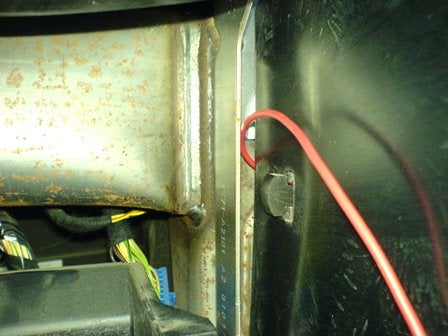
Remove the headlight switch. Pass the wire behind and through the gap by the metal parts...
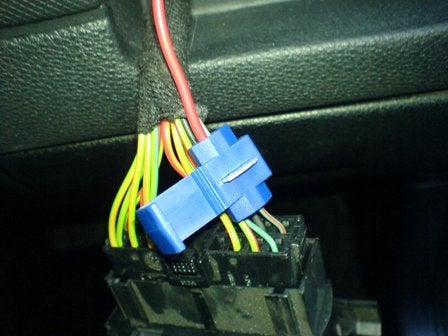
And it will appear behind the dash:
Connect it to the dash illumination feed (pin 9 on the connector). I used a scotchlock, but feel free to cut and solder for a better finish! An inline fuse will also be a good idea.
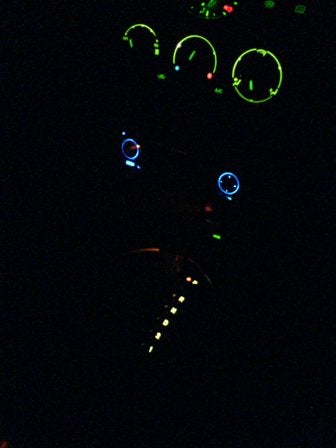
Then turn on the headlights and admire your handywork!
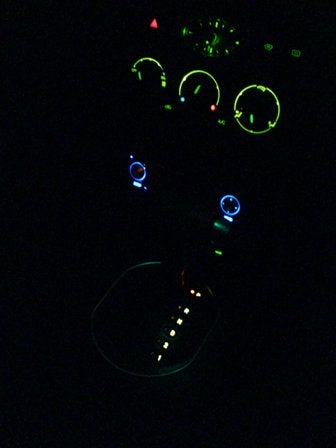
Here is a "before and after" - it's very subtle on the picture (camera-phone!) but in real life is more noticeable. As pointed out above, you can adjust the LED resistor to make it as bright as you want.
 Your Privacy Choices